
HOMEHow $10 of Lumber Can Transform Any Coffee Table8 min read
Starting With the Right Base Table
Not every coffee table makes a good candidate for a farmhouse makeover. The best starting points share a few qualities: simple silhouettes without ornate carved details, straight legs rather than curved cabriole styles, and a flat tabletop with enough surface area to accommodate added wood pieces. The IKEA Hemnes coffee table is a frequently cited example, and for practical reasons. Its clean Scandinavian profile — straight lines, minimal hardware, no fussy decorative elements — gives the farmhouse overlay somewhere to land without visual conflict. The Hemnes also has a price point that removes the hesitation many people feel about modifying furniture they paid good money for. Pieces from budget-friendly retailers like Joss and Main serve the same purpose. A table purchased during a Labor Day sale at Joss and Main, for instance, can be a perfectly serviceable starting point. The original finish and style matter far less than the underlying structure.
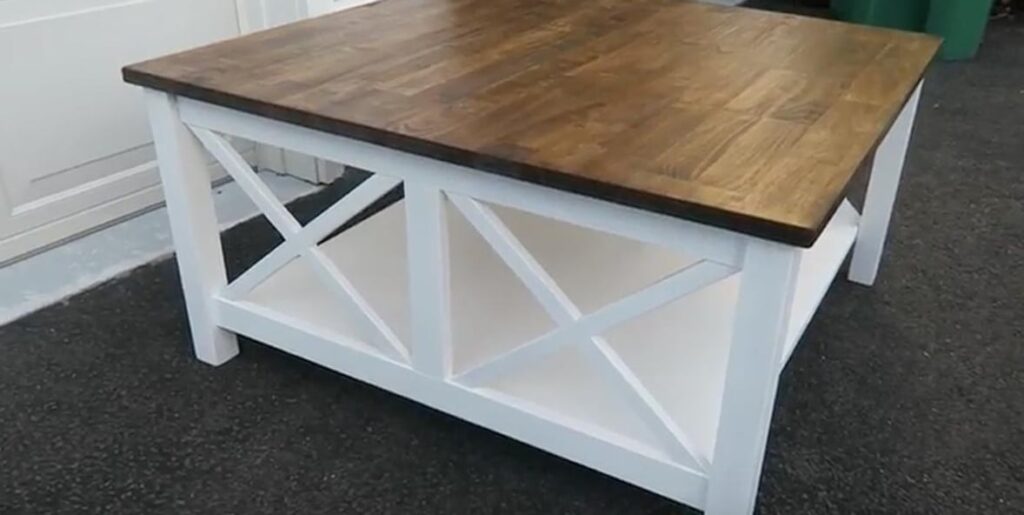
What the YazFamily Method Gets Right
The YazFamily’s approach to this project became widely shared online because it demonstrates something important: the farmhouse transformation is a system, not a one-off hack. Their method starts with a table purchased from Joss and Main and involves adding wood cross pieces to the lower shelf area, then applying stain and paint to create a cohesive, aged appearance. What makes this approach effective is the sequencing. Adding structural wood elements first changes the visual weight and proportion of the table before any color or finish is applied. Once the cross pieces are in place, the staining process can tie the new and old wood together into something that looks intentional from the beginning rather than patched together. The tutorial walks through each stage clearly enough that someone without prior woodworking experience can follow along and replicate the result. That accessibility is exactly why the video gained traction — it shows the full process without skipping steps or assuming prior knowledge.